Home Assistant is only provided as qcow2, but it is easy to convert it to a ZVOL. Let's directly start.
Creating a temporary local dir storage
We will later attach the normal qcow2 storage to convert it afterwards. Proxmox does not come any more with a default storage directory defined for qcow2 images, so you need to create on.
Click on Datacenter -> Storage -> Add -> Select Directory
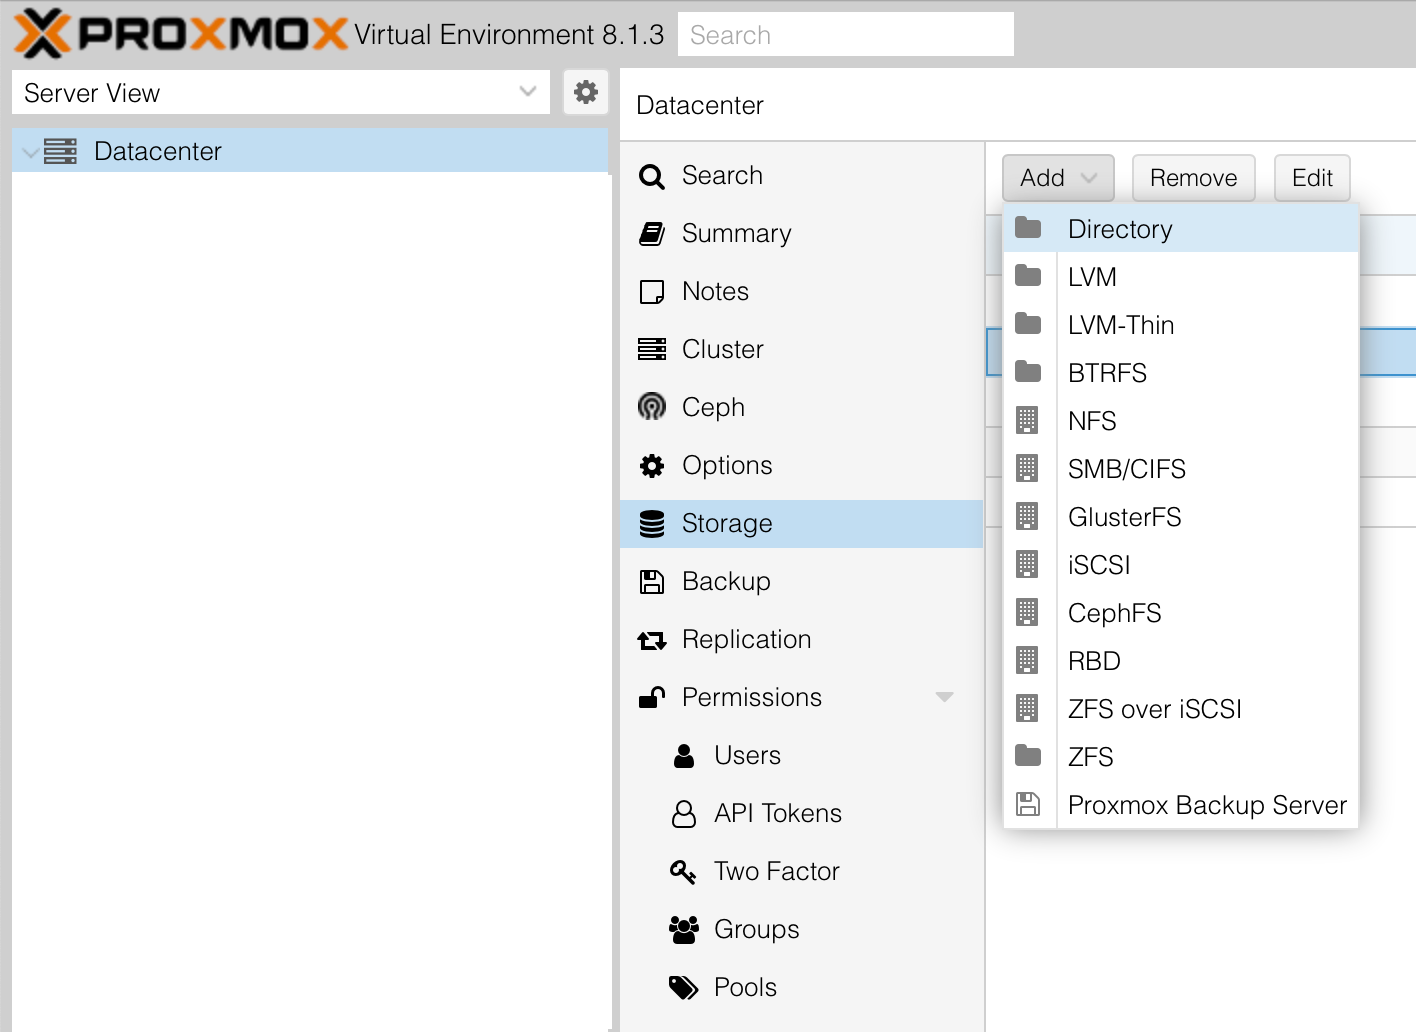

After the tutorial, you can delete it again if it bothers you in the UI.
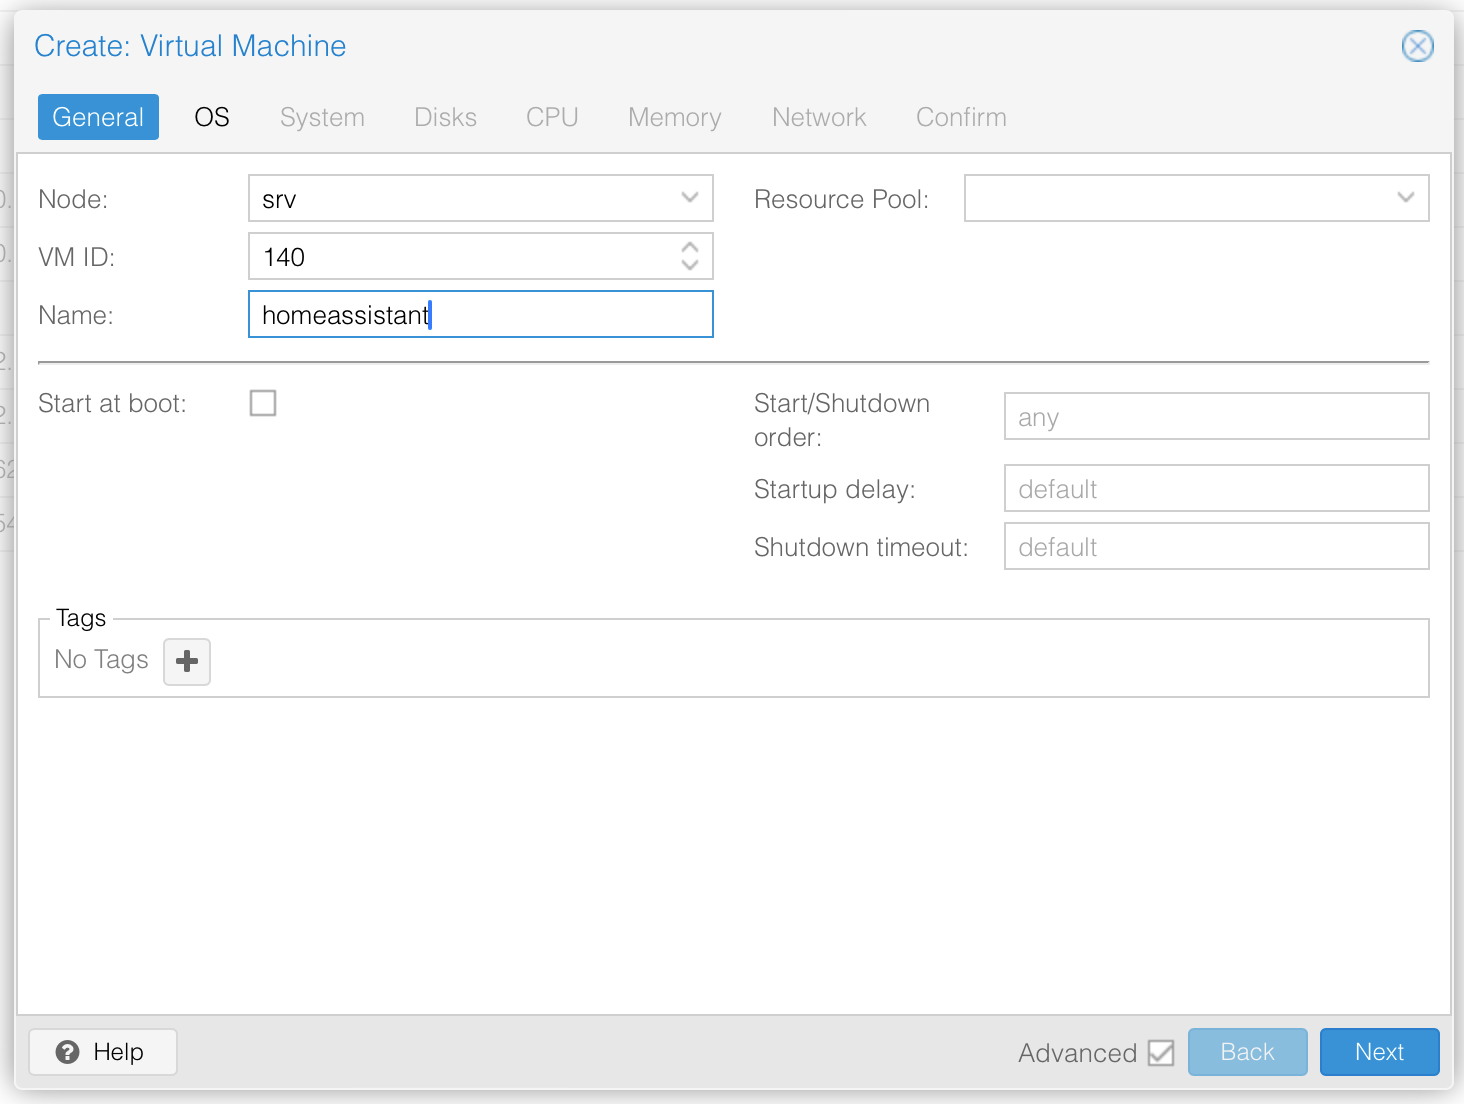
Create the VM
Start by creating a new VM
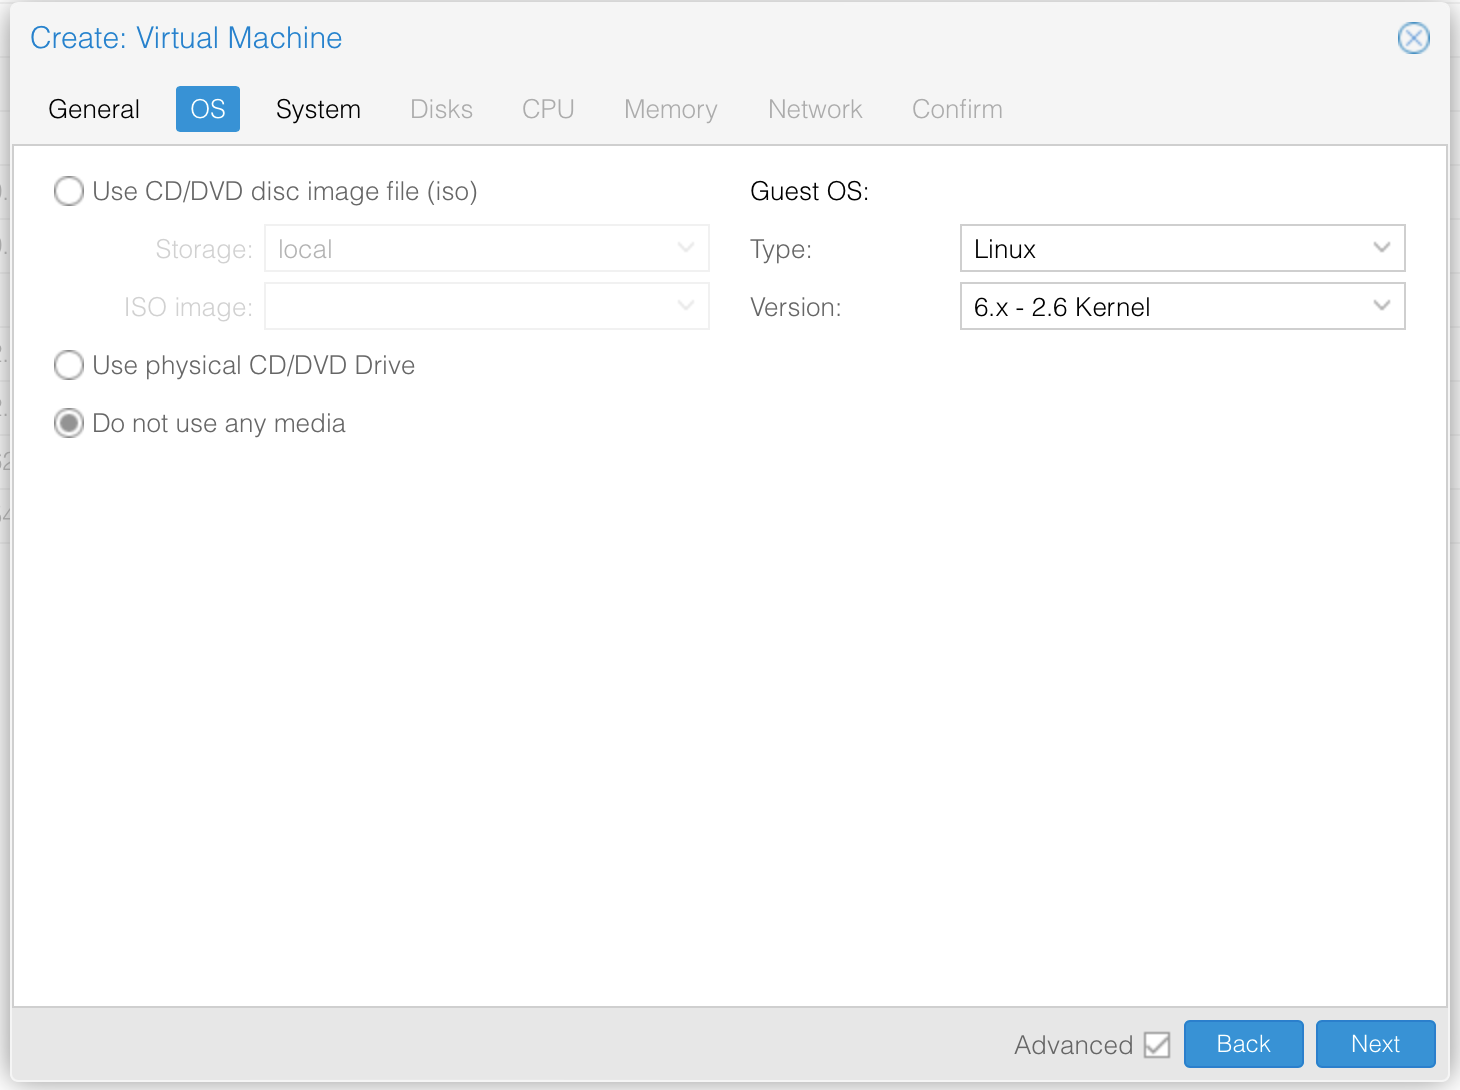
Select, that you do not want to use any media. HassOS is based on the Linux Kernel, so you can keep the type.
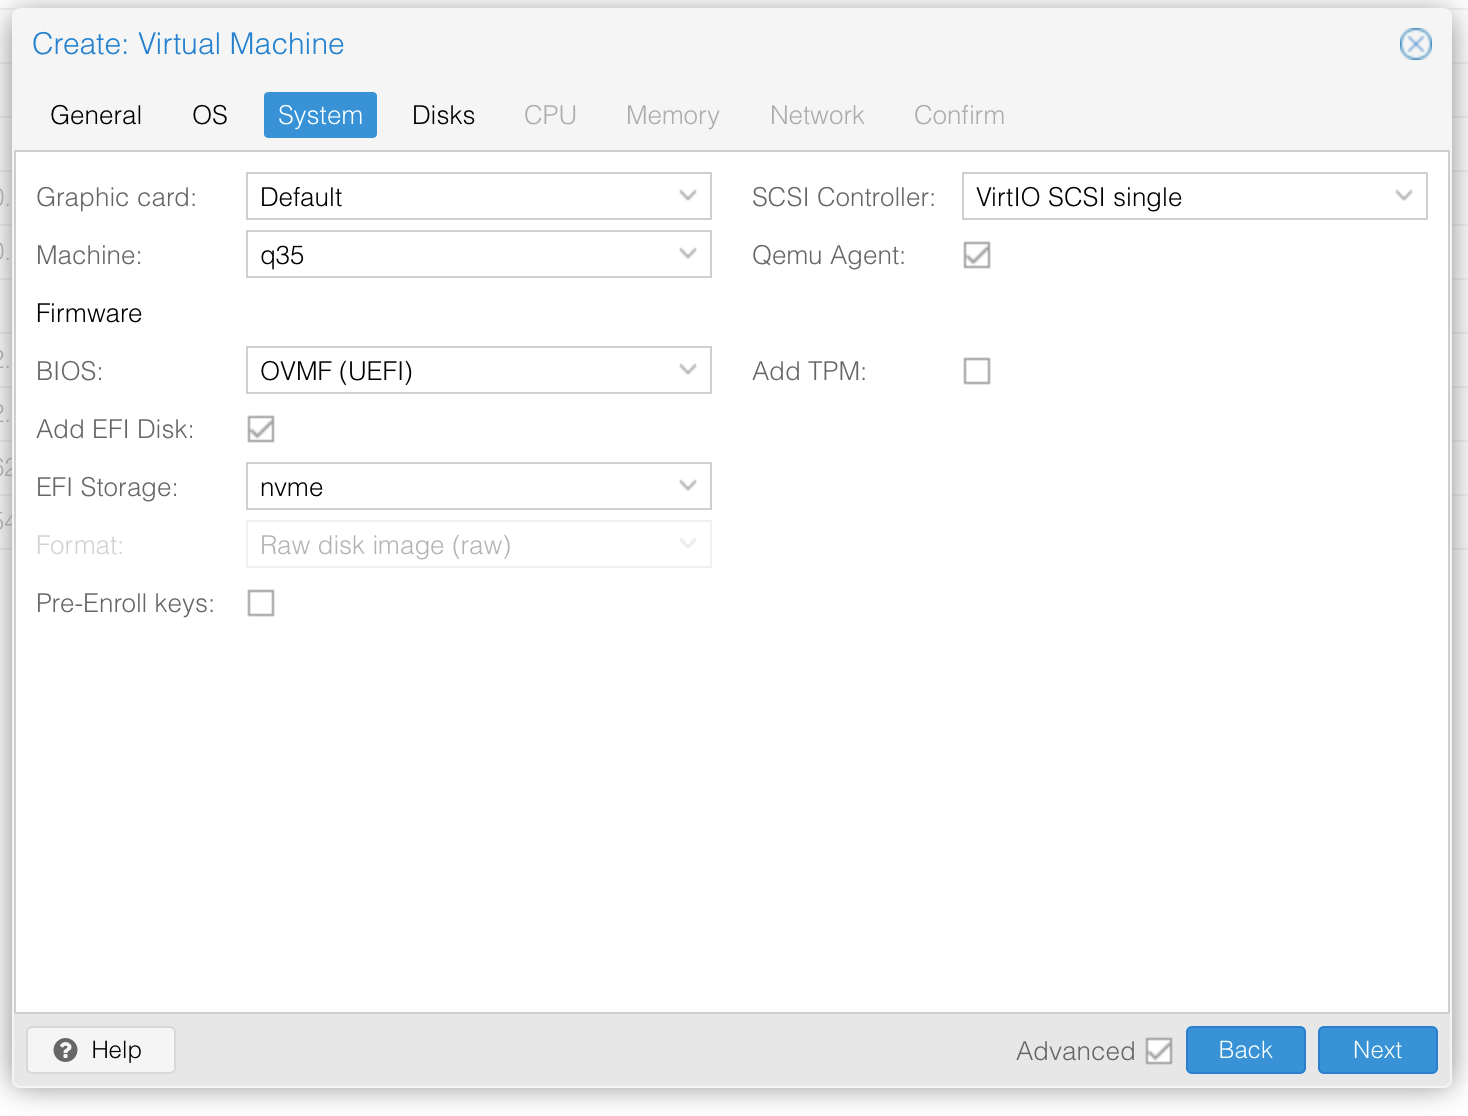
The Home Assistant Image is an UEFI image. So you have to select q35 as Machine, OVMF as BIOS, and you need to add an EFI Disk (with a storage on your ZFS pool for example).
When you don't use Windows, you can always uncheck "Pre-Enroll keys".
Also the latest versions of the Home Assistant qcow2 Images have the qemu-guest-agent included inside it (the wiki of HA does not mention it yet - as of Nov. 23). So you should select it here for its advantages.
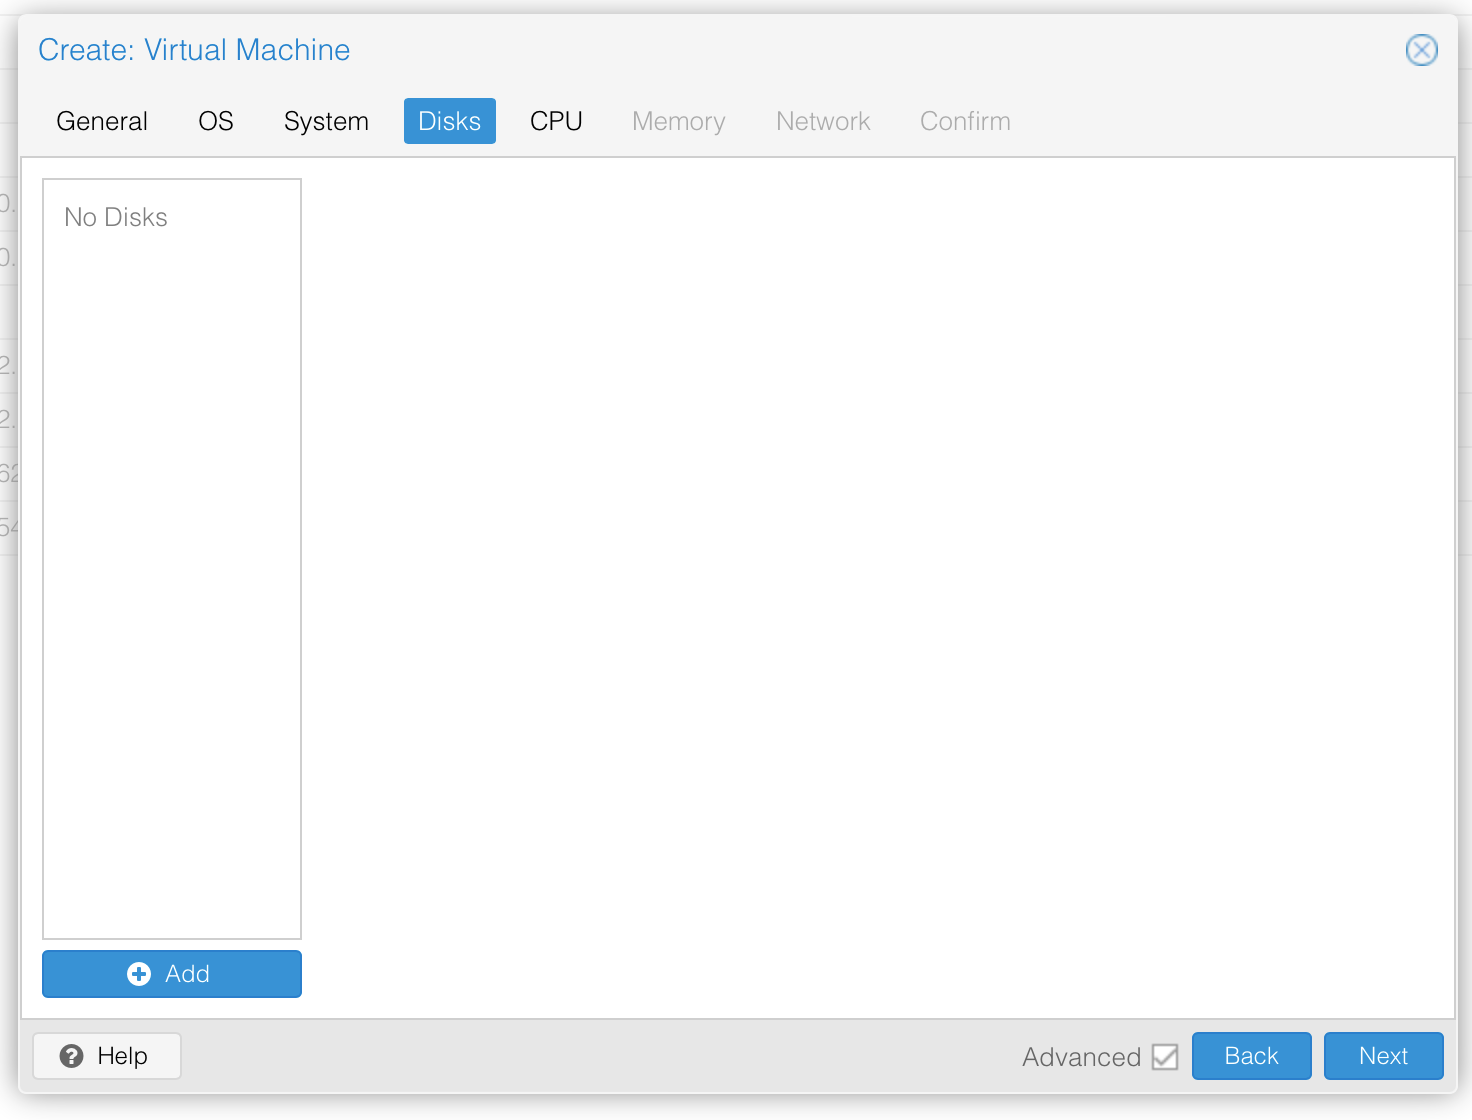
On the next screen, delete the default disk.
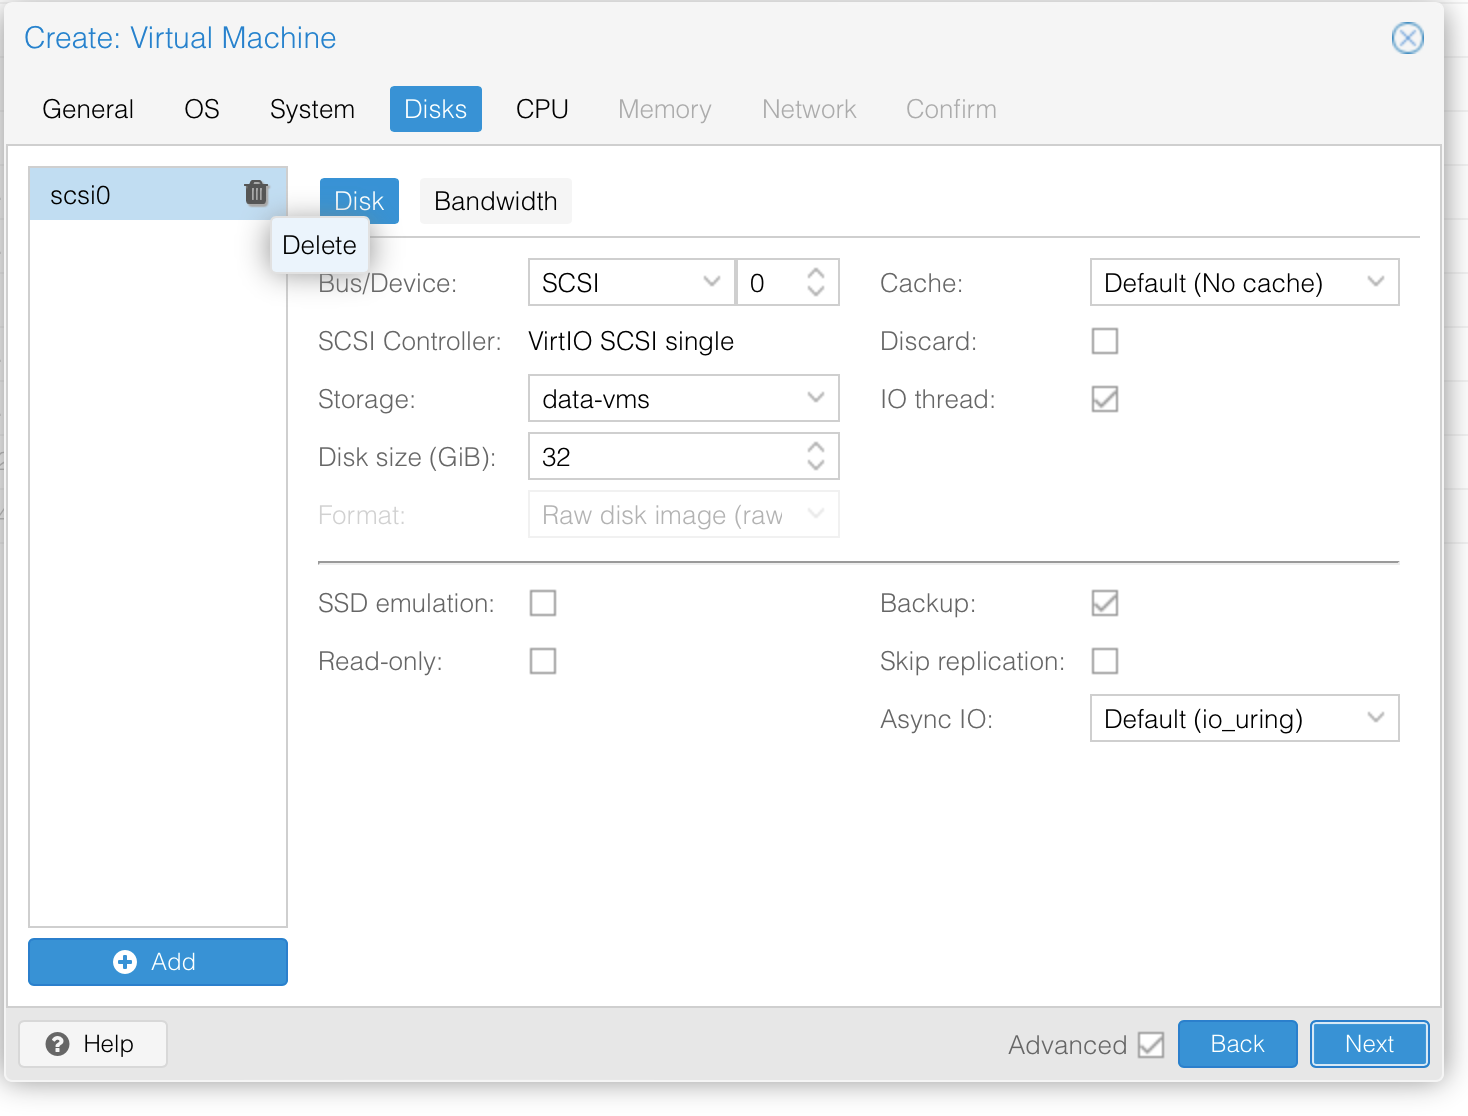
Delete the default disk
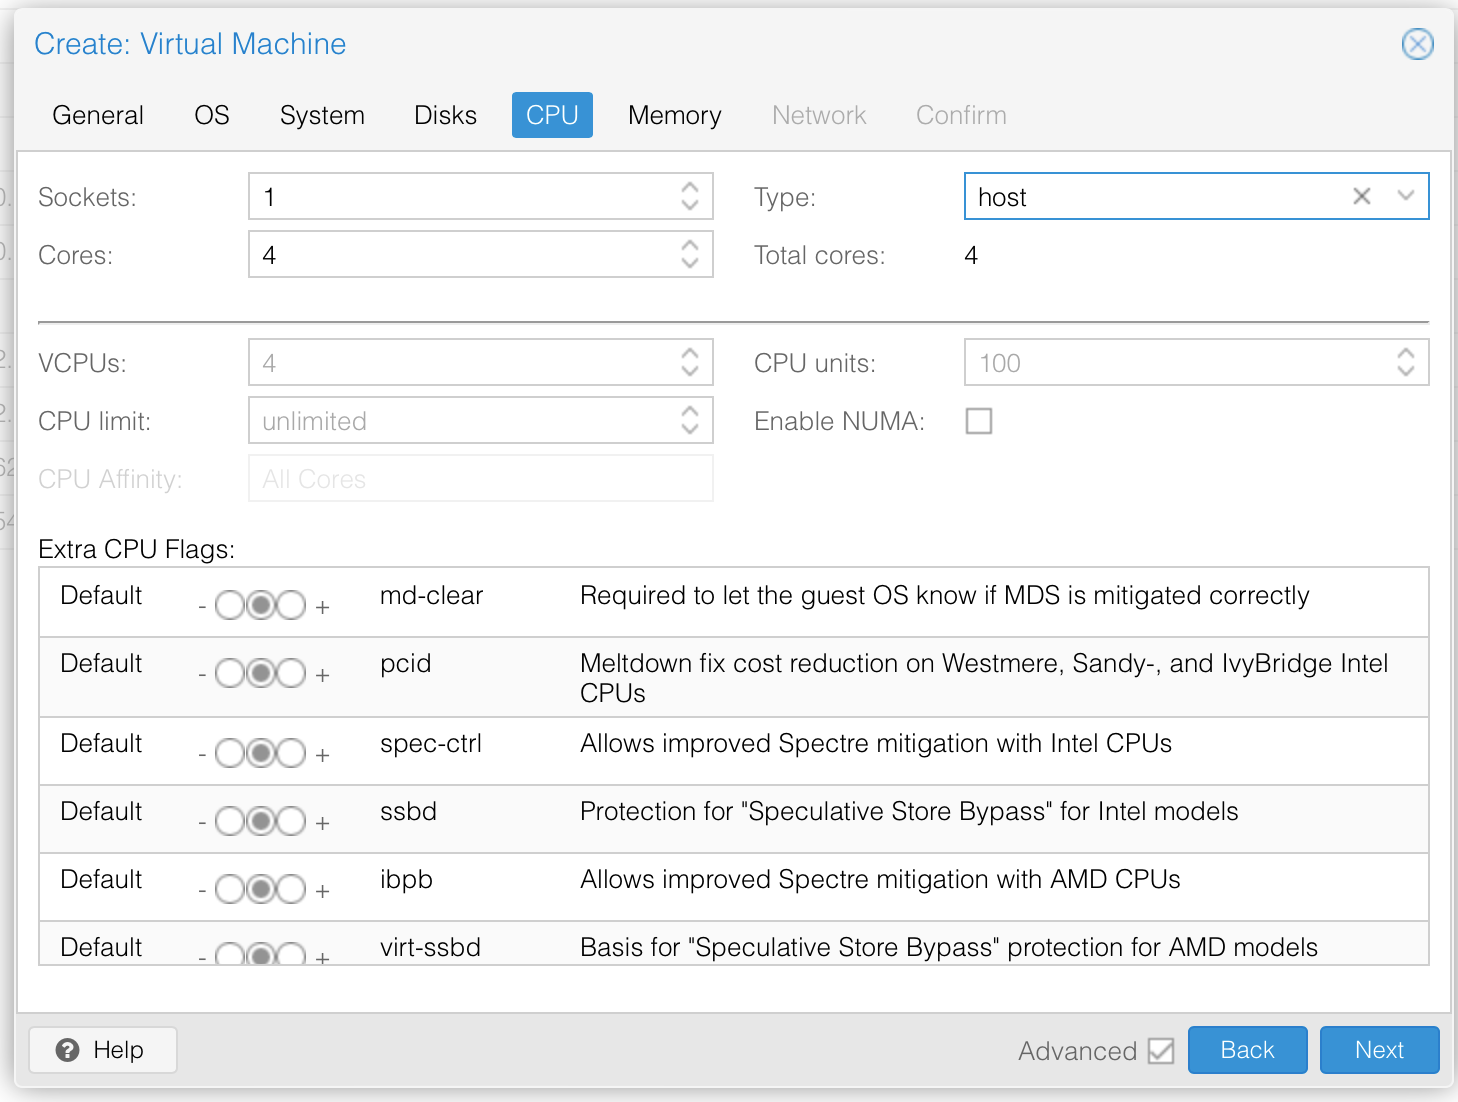
Next select the CPU. You should usually choose "host" if possible. It provides the highest performance. Just note that you should use "kvm64" or so if you want to use Proxmox live migration feature and you don't have the same CPUs in your cluster.
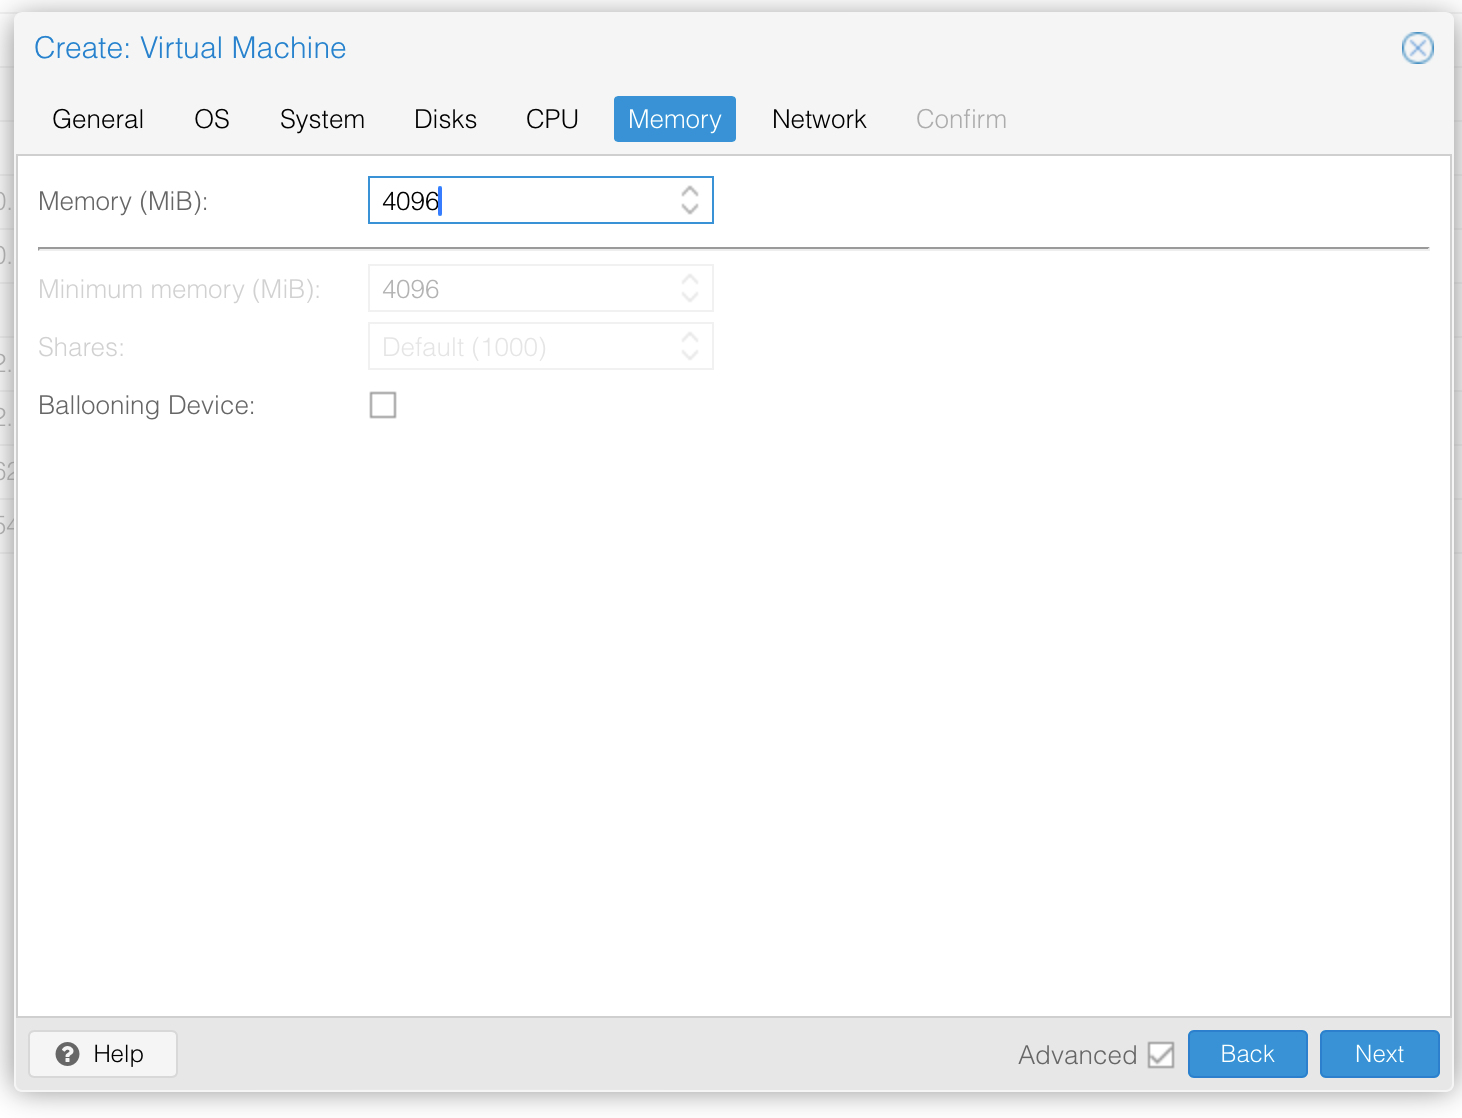
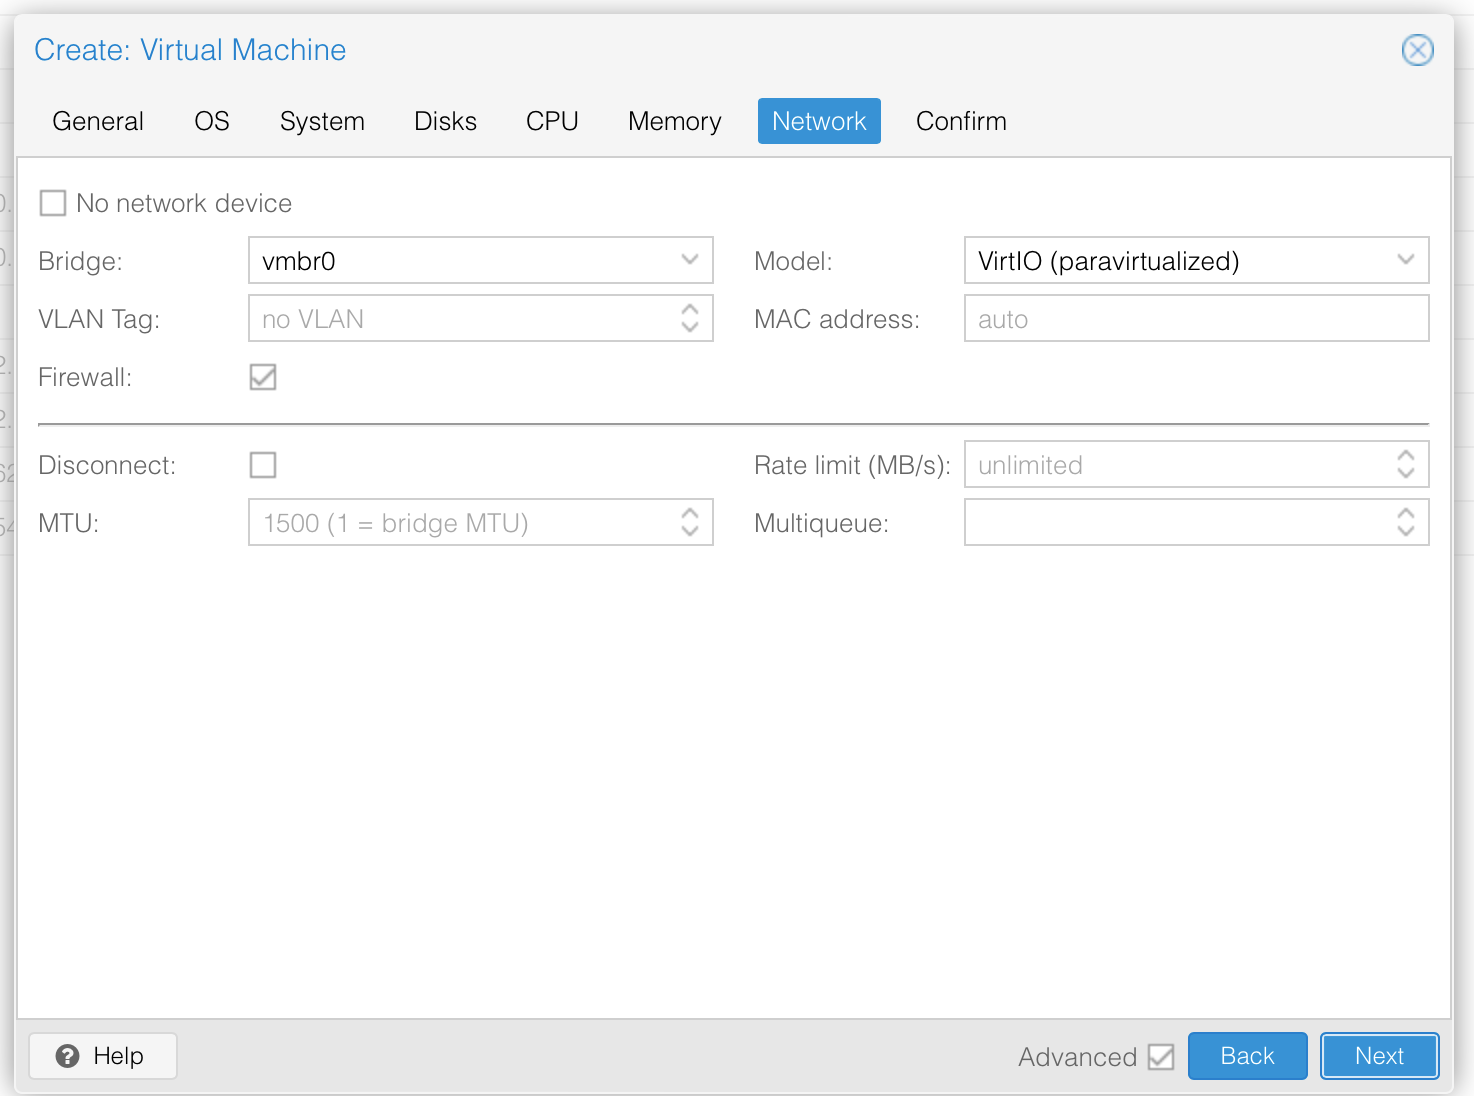
Memory and Network is explains itself. For Network I always recommend to use the paravirtualized device.
Add the home assistant image to the VM
To add the Disk, log in into SSH to your Hypervisor.
Copy the link to the latest KVM image from here: https://www.home-assistant.io/installation/linux
Go into some temporary directory, download, unpack, and import it.
cd /tmp
curl -L https://github.com/home-assistant/operating-system/releases/download/11.1/haos_ova-11.1.qcow2.xz -o haos.qcow2.xz
# Unpack it
unxz haos.qcow2.xz

# Import it, specify the ID of your home assistant vm, in my case 140
qm importdisk 140 haos.qcow2 local

# Clean up
rm haos.qcow2
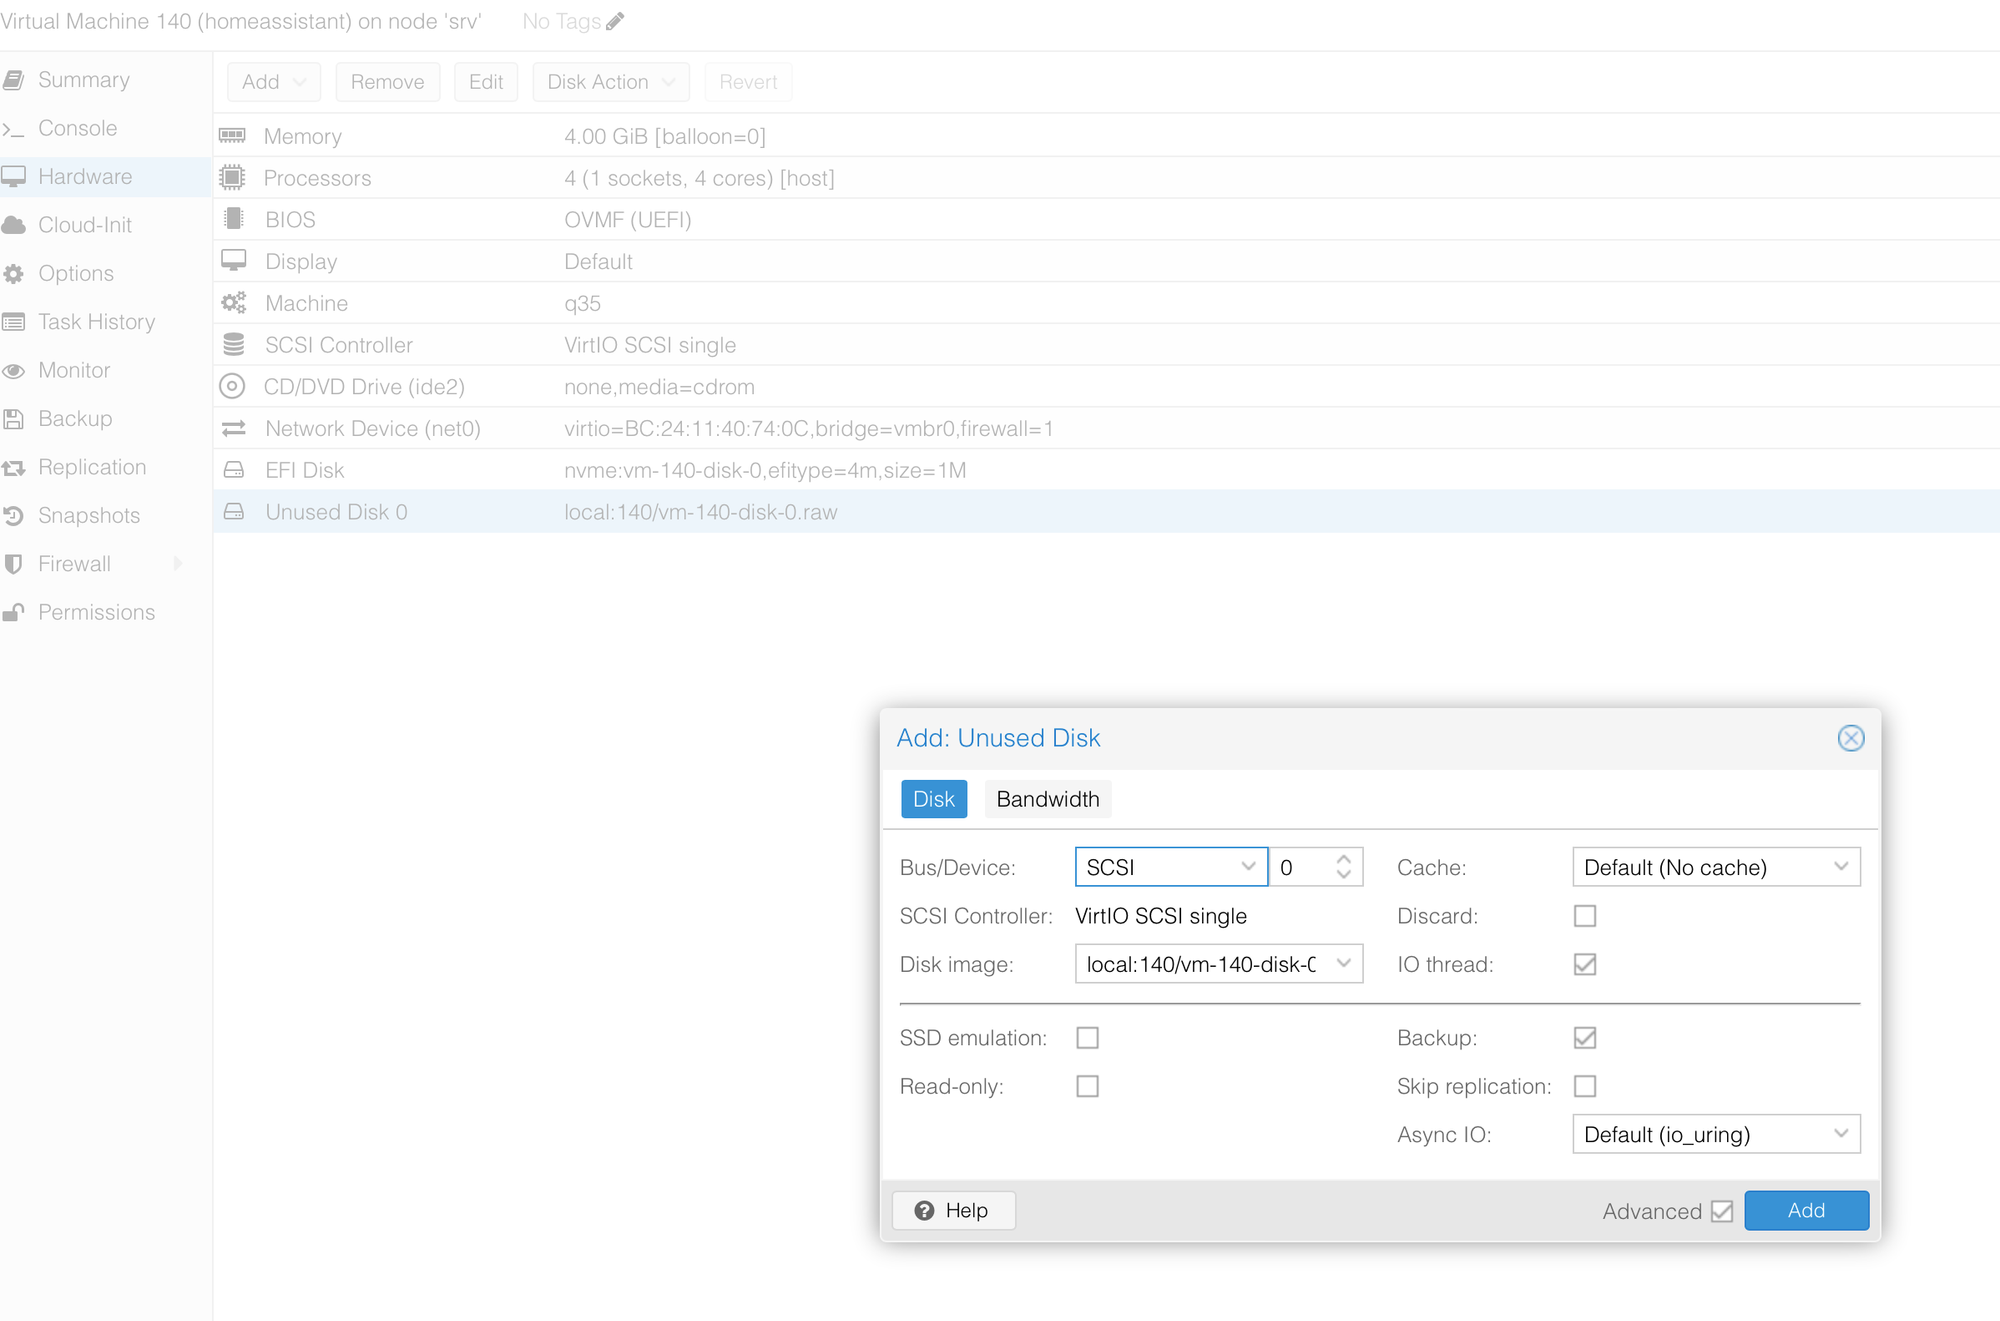
Next when you go back to your VM, you should see the imported image as unused Disk. Simply add it as-is.
Btw the recommended option in Proxmox is SCSI, because of its flexibility. It is paravirtualized too (because of the controller) and probably does not make a performance difference in most applications in regards to VirtIO-Block.
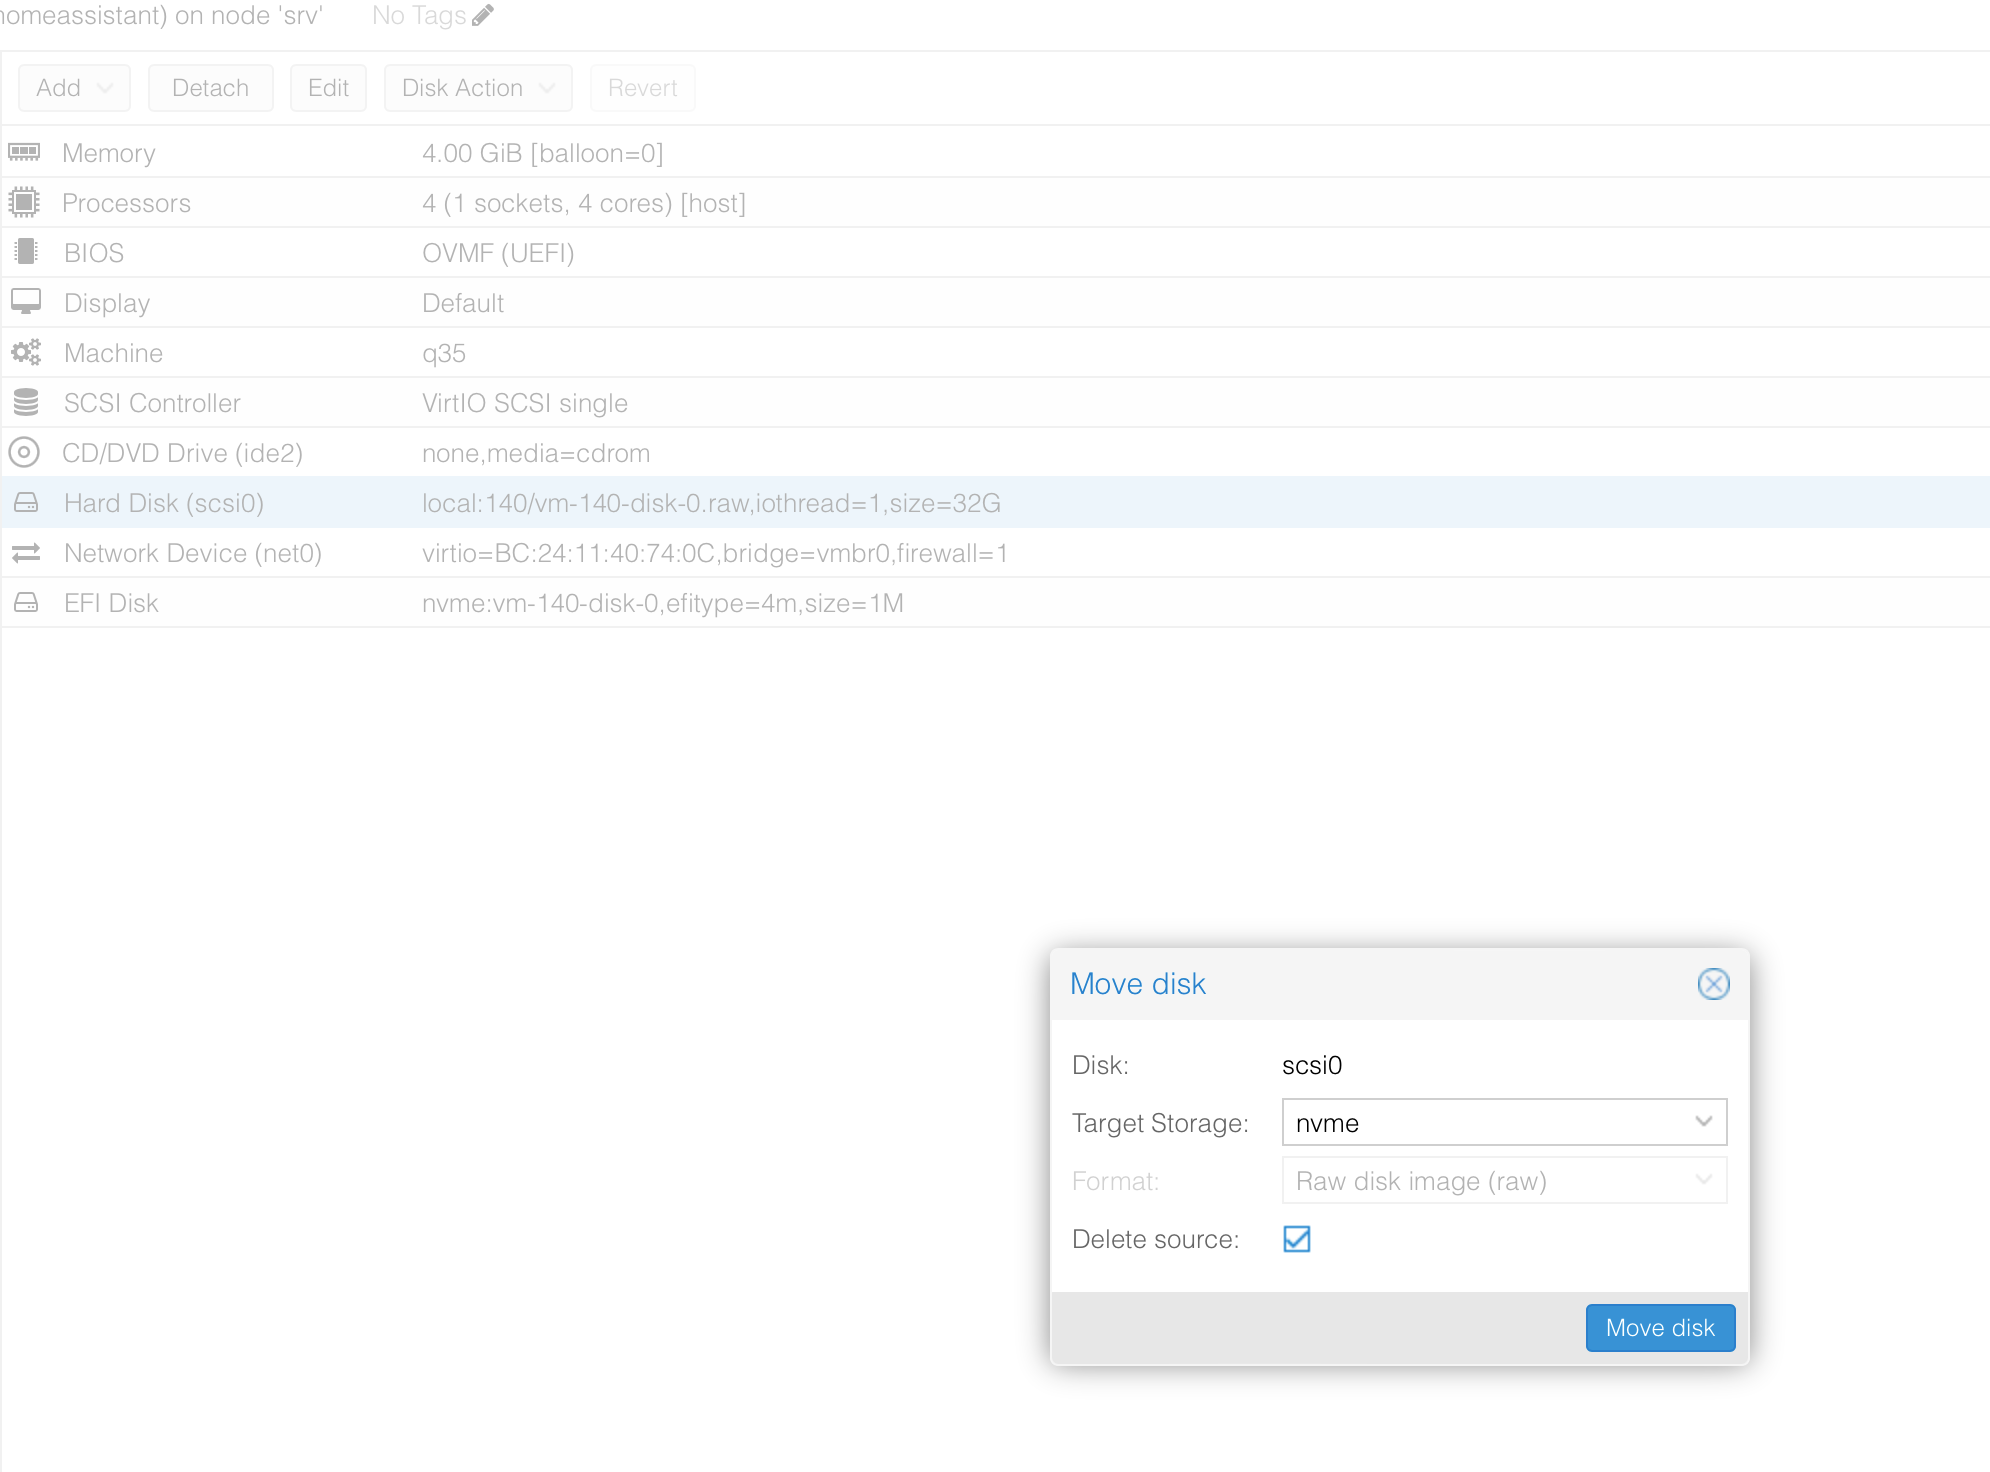
Next we will move it to our ZFS pool, which is really simple. Select the Disk first (single click to highlight it), then go to Disk Action -> Move Storage. Then select your ZFS Pool as Target and check Delete Source to directly delete the qcow2 image.
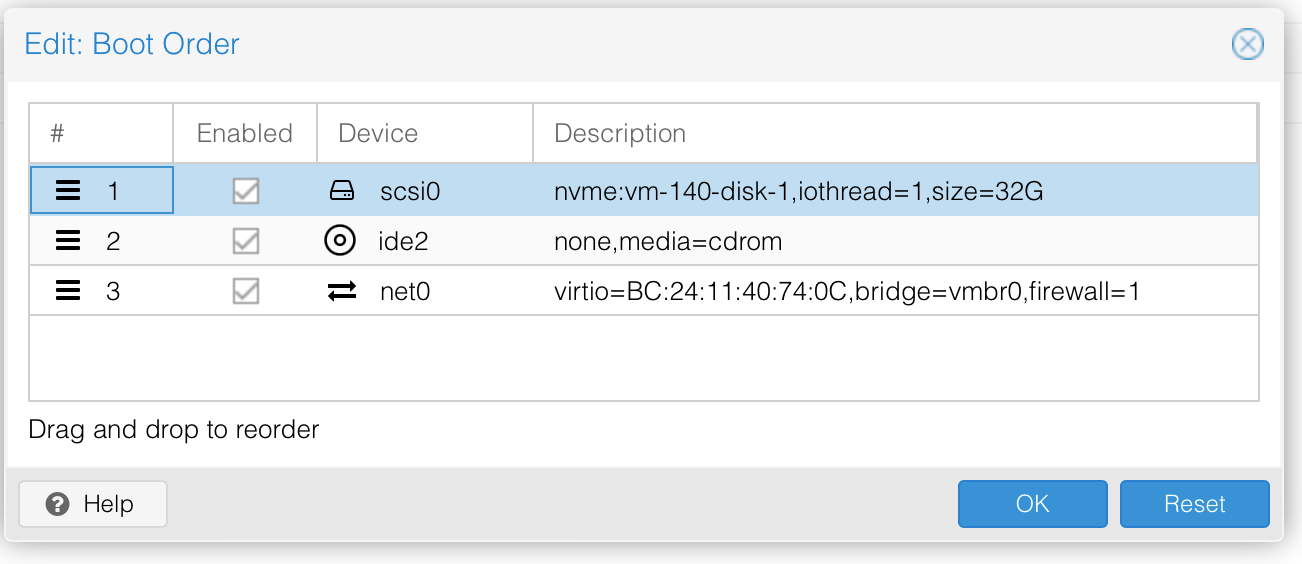
We will also have to change the boot order. Go to the Options Menu-Point in your VM and edit the Boot Order. Select your new disk and move it up.
Now simply start the VM et voilà!
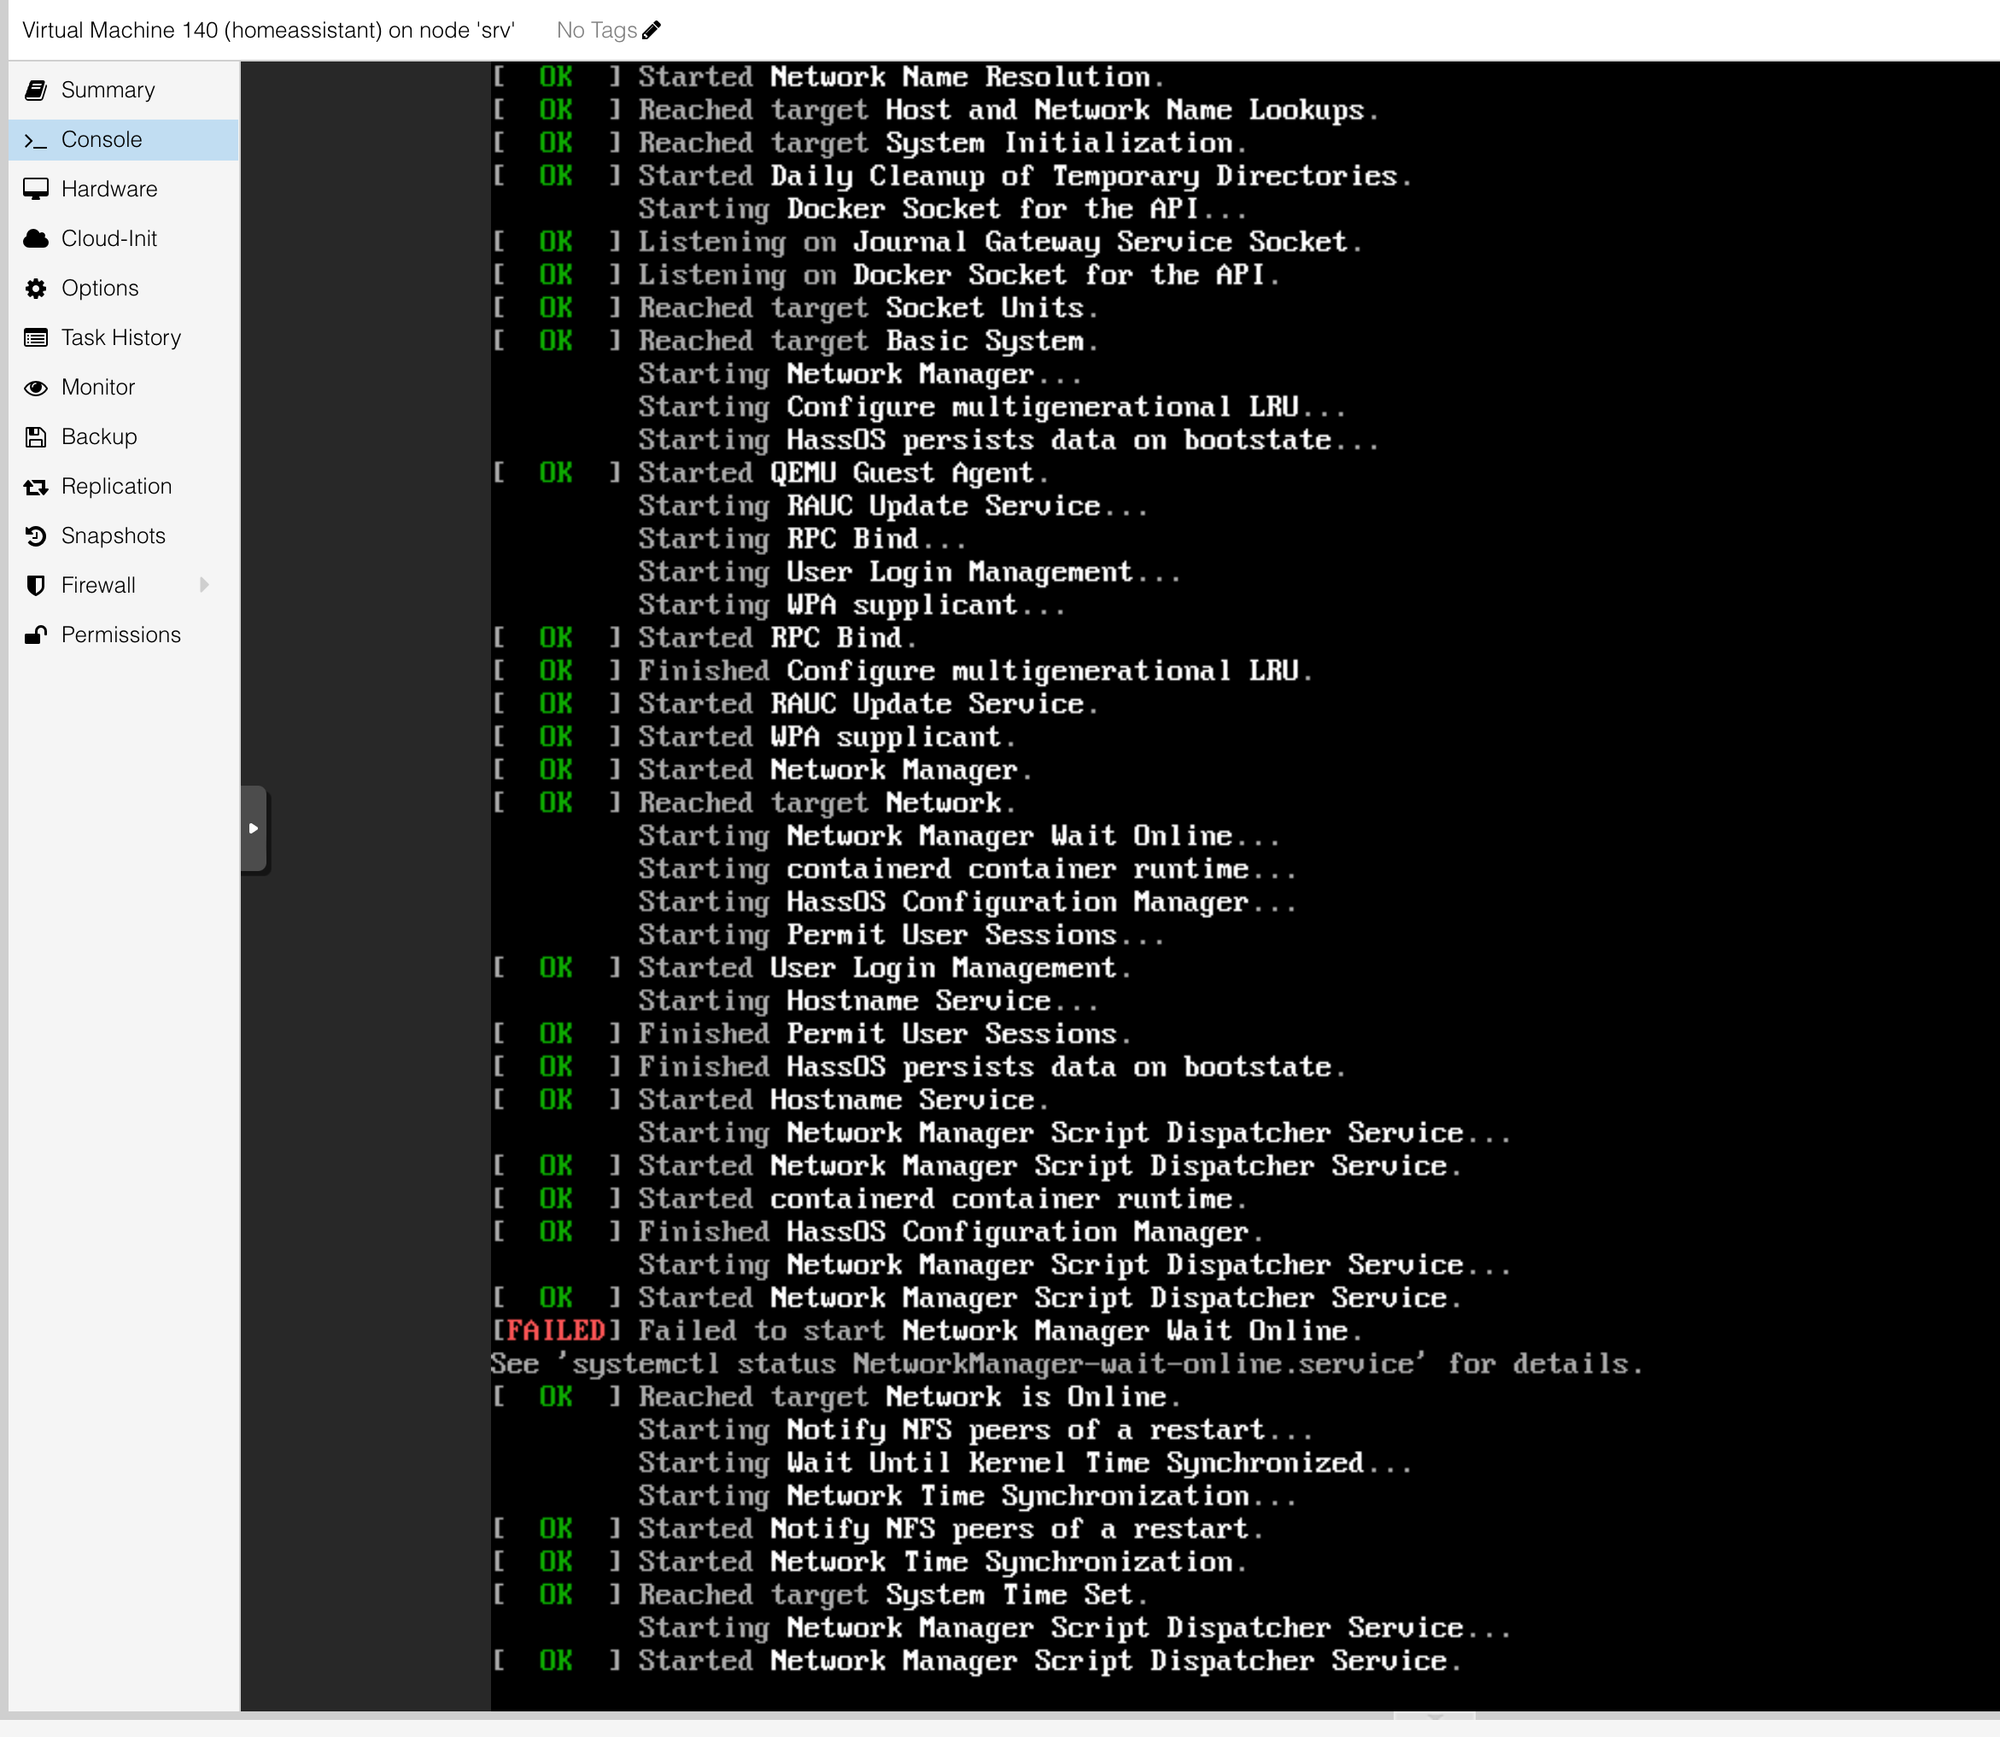
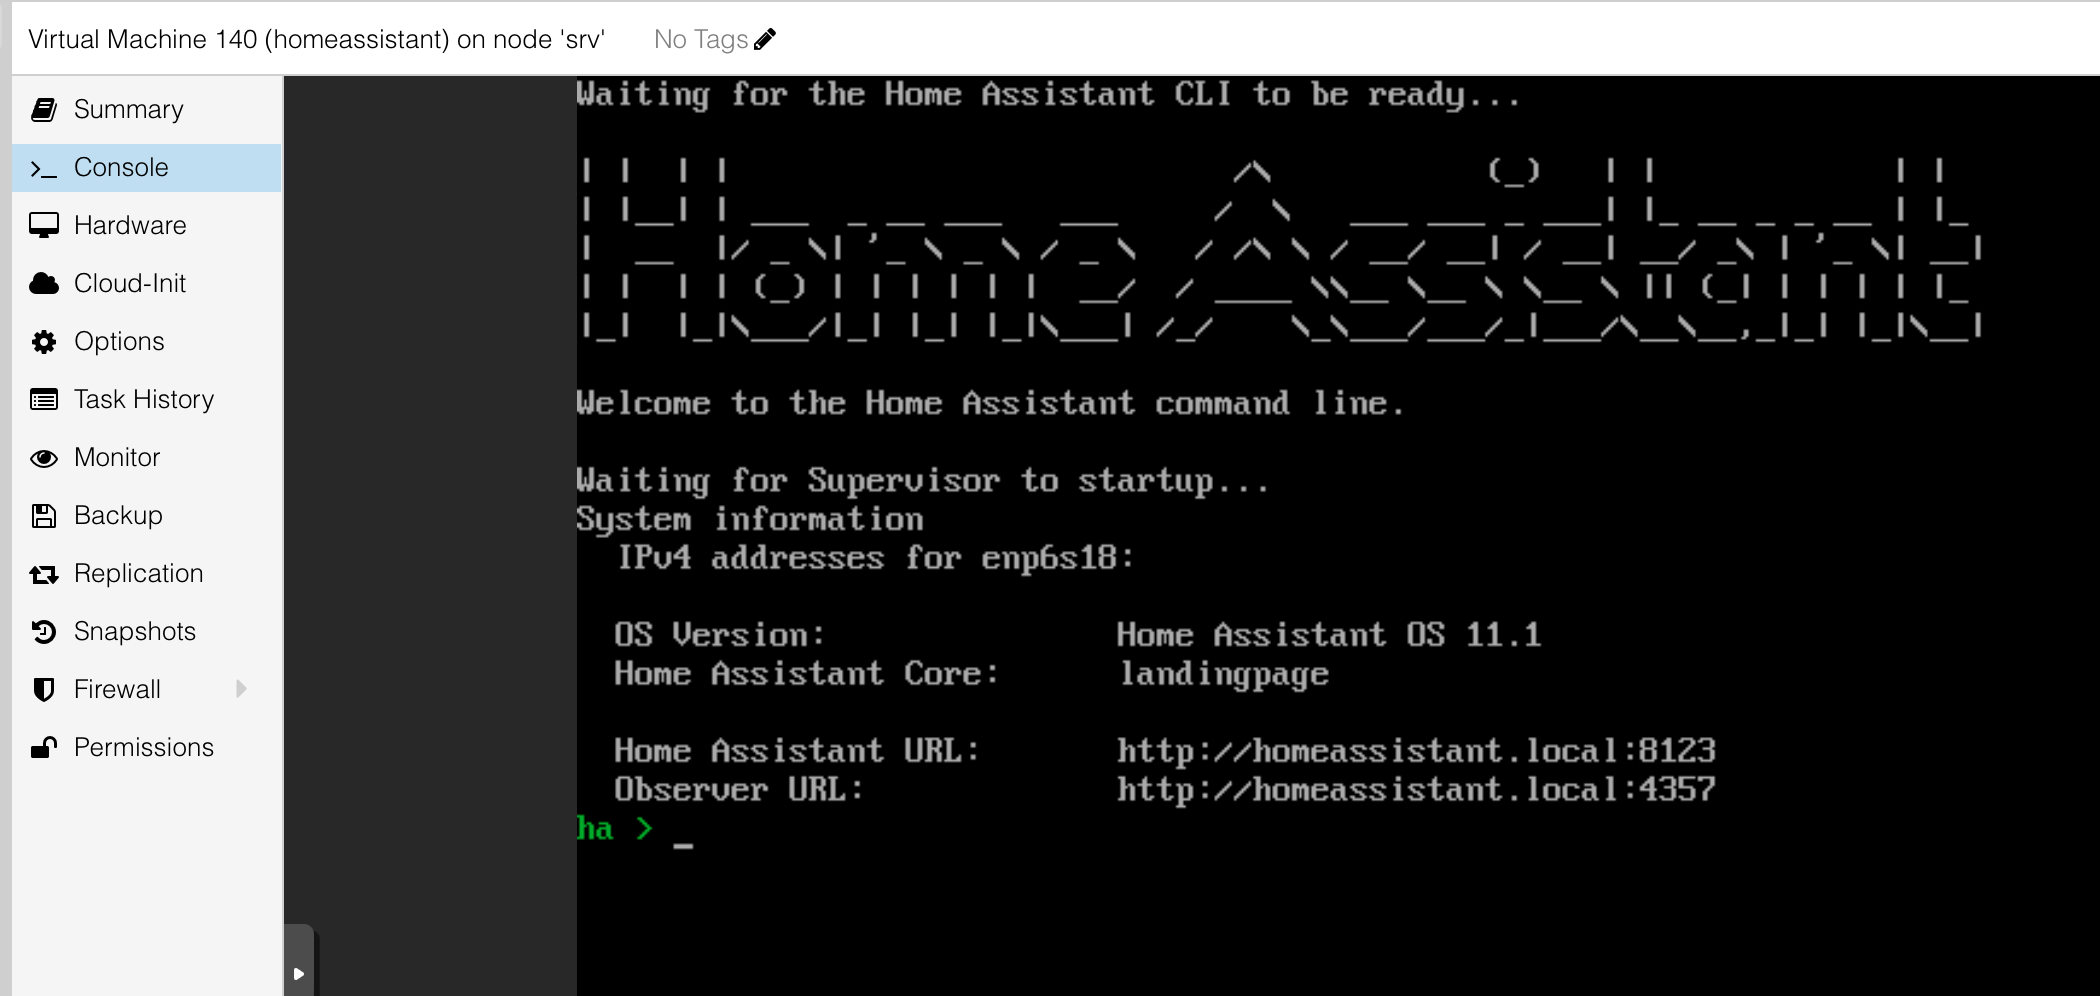
If you don't have DHCP enabled the startup can take some time (as it will first try to receive an IP first).
Feel free to write a comment if you have questions or the tutorial helped you.